Set Up
Contents
Set Up#
Installing Python through Anaconda#
Python is a popular language for scientific computing, and great for general-purpose programming as well. Installing all of its scientific packages individually can be a bit difficult, however, so we recommend the all-in-one installer Anaconda.
Navigate to the download page for Anaconda.
Download the appropriate installer for your operating system. Make sure you get the installer listed under Python 3 (not 2.7).
Double click the installer icon and follow the set-up instructions, keeping most of the default options. If you are Windows, make sure to choose to choose the option Make Anaconda the default Python during installation.
Creating your environment#
Download the environment file included in this repository and found here somewhere on your computer and take note of the location. You can right click the previous link and choose “Save Link As” to easily download the file.
You may either choose to install the environment from the command line or by using the Anaconda Navigator.
Installing from the Command Line#
This is an environment specification file which can be used by the conda package manager to create an environment with all of the necessary packages needed for this workshop. You can create this environment from the command line by navigating to the location where you have the file saved in your terminal and executing the following command:
conda env create -f environment.yaml
After executing this command, answer yes to the prompts. A new environment called molssi_training will be availale for you to use. You can activate this environment in the command line using
conda activate molssi_training
Note that you will have to activate this environment to use it every time you open a terminal window.
Installing from the Anaconda Navigator#
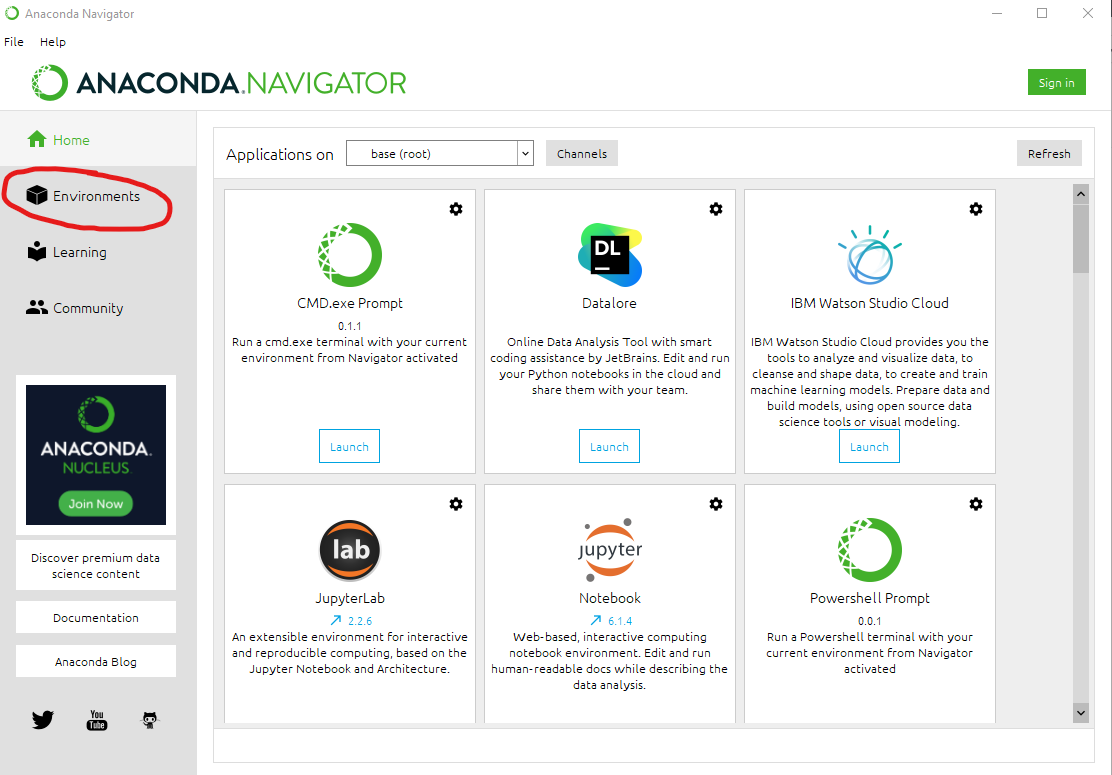
Alternatively, you can create the environment from the Anaconda Navigator GUI. Start the Anaconda Navigator and click the “Environments” tab on the left of the window.
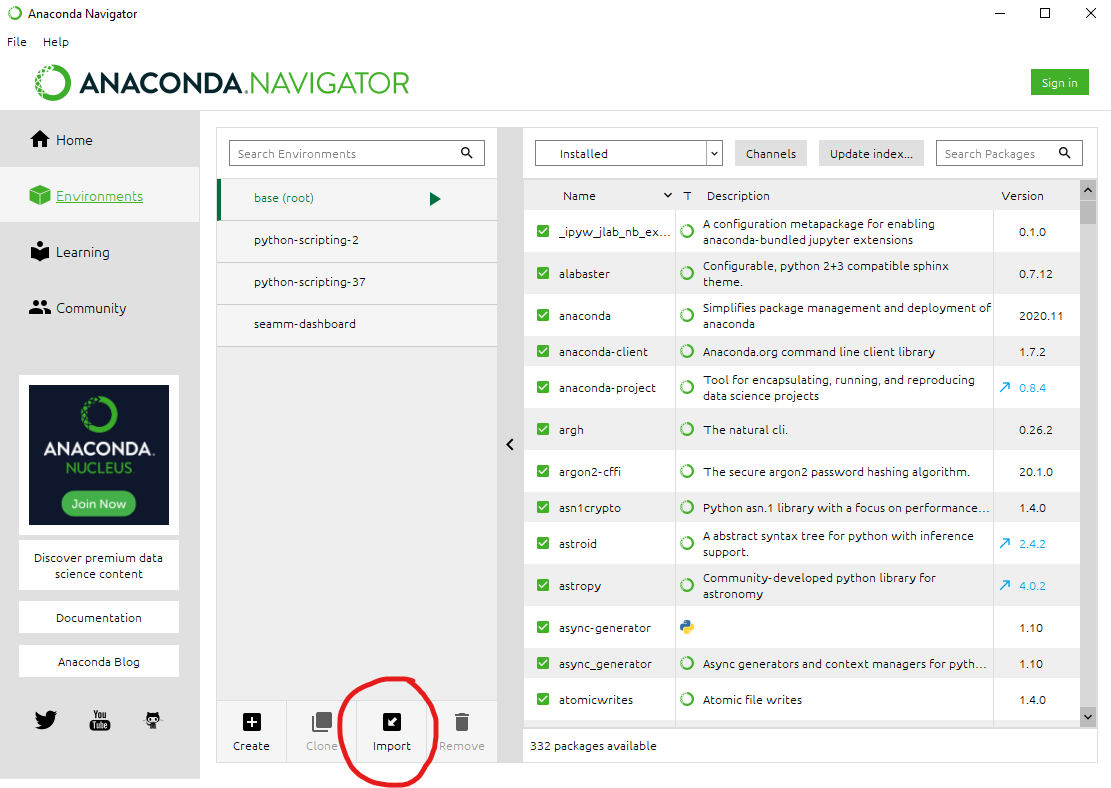
This will show a view with a list of your environments and a list of installed packages in each environment. At the bottom of your environment list you will see an “Import” button. Click this button and upload the environment.yaml file you created in the previous step.
After the environment has been created, click it from the list to activate it. You may now start a notebook from your Home tab. Remember that you will have to activate this environment from the environments tab every time you want to use it.
Start a Jupyter notebook#
From Finder or Spotlight (Mac OS) or the Start Menu (Windows) find the Anaconda Navigator. The icon looks like a green circle. Click Launch under Jupyter Notebook. It may take a few seconds to load the page, especially if it is the first time you have ever used the jupyter notebook, so don’t panic if nothing loads for a few seconds. Then a new window should open in your default internet browser. Use the file navigation window to navigate to Desktop and then to the WORKSHOP_NAME folder. In the upper right hand corner, click New, then choose Python 3 from the dropdown list (shown below)

This will start a new Jupyter notebook using Python 3. You’re ready to go!